Tastes change. We all know it, but blogging over a period of time only reinforces that when you can look back at what you liked and how you thought. The Jenn of 2018 cringes looking back at some of my “design” choices in the past, yet I have always done what I could to make my house a comfortable home, pieced together with furniture from thrift and antique shops (and the side of the road sometimes, if I’m being totally honest).
A few years ago, I started working toward finishing the rooms in my house – identifying “for now” furniture and seeking out quality pieces to replace them with. This is a story of how my hunt for two chairs ended in the purchase of a new dining table and chairs.
My dining/reading room wasn’t working. The space is large, even with a wall of bookshelves, and the tiny table and two club chairs I had at the time weren’t taking advantage of the space. I moved furniture a dozen times over a year or so and decided the problem was with my chairs. While comfortable, the upholstery fabric is busy, and I decided I wanted two mid century chairs instead. I began hunting on our local Facebook page, as this seemed a good place to start. Mostly, this page is a mixed bag, people selling used bath mats (not lying) and old vehicles, but every once in a while, people post a gem.
After searching for a couple of weeks, I did my typical weekly search, and up popped a mid century table and six chairs…for $80. I fell and fell hard, immediately claiming them and only asking questions once the seller acknowledged my message. When the woman indicated her husband could deliver to my house the next town over, I jumped at the chance. I had to judge a UIL writing contest that night, so I handed my husband the $80 and asked him to stash the table and chairs wherever he could.
At about 8 that night, I got a text message: “Babe, do you know what you bought?” I responded that yes, indeed I did and got a response: “These chairs are kind of rough.”
In hindsight, I probably should have warned him the chairs were orange pleather and that , at some point, someone tried to spray paint them. The wooden legs had children’s stickers on them and appeared to have been gnawed on by a dog, but for $80, I knew I could afford to reupholster the chairs with something perfect. But bless the husband for “kind of rough.”
 photo from Facebook listing
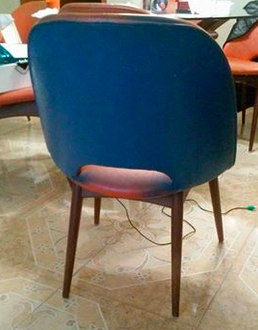 photo from Facebook listing
I could hardly stand it, I was so excited to get home and begin restoring them. The next morning I woke up early to research the type of wood I was dealing with, as mcm furniture is often teak, a very temperamental wood. Because the base of the table is pretty unique, it didn’t take long for my search to turn something up.
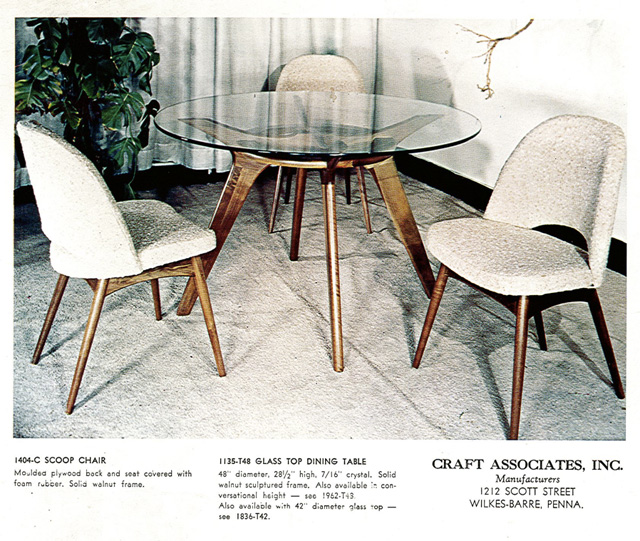
Adrian Pearsall Dining Table from the Craft Associates catalog
Not only was the wood walnut, not teak, but also, the very first search I did shocked me – the designer was Adrian Pearsall, who owned Craft Associates, Inc., and was a well respected designer of atomic furniture, and someone was selling just the base of the table for over $1,000. Lo and behold, I found out that not only did I get a deal, I got the deal of the mid century!
My aunt, Leslie Ravey, is an artist who creates beautiful wood furniture from exotic woods, and she offered to help us bring this piece back to life. First, we removed the legs from the chairs and began the time-consuming work of removing the vinyl chair covering. Thankfully, the workmanship was good because the foam was in near-perfect condition. Once the legs were off, we used fine grit sandpaper to remove the finish and some of the surface nicks and then applied Watco Rejuvenating Oil with an old t-shirt. We applied another coat of oil the next day. I couldn’t believe the results.
Initially, I had planned to reupholster the chairs by myself. I selected fabric, made a pattern, and got busy, but in the end, I needed a professional. Between the curves at the tops of the chairs and the backs, they didn’t look good. And I wanted them to look good.
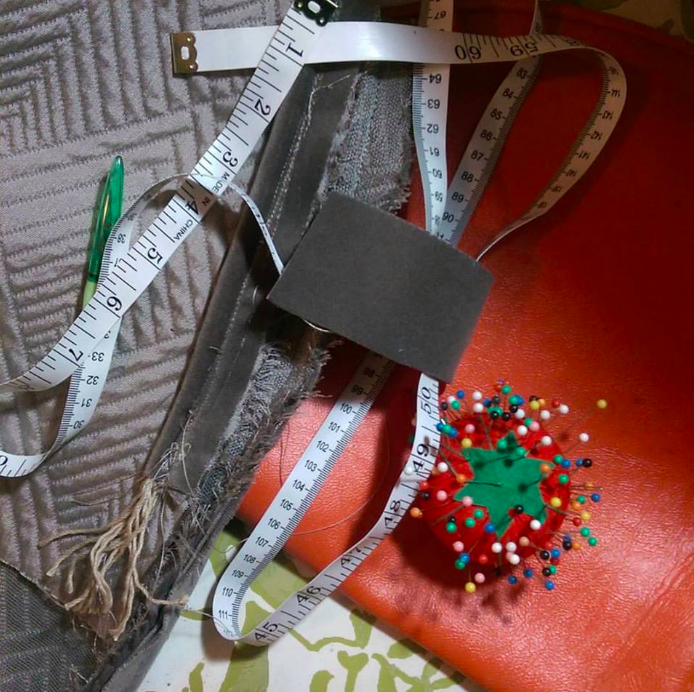 Off with the pleather!
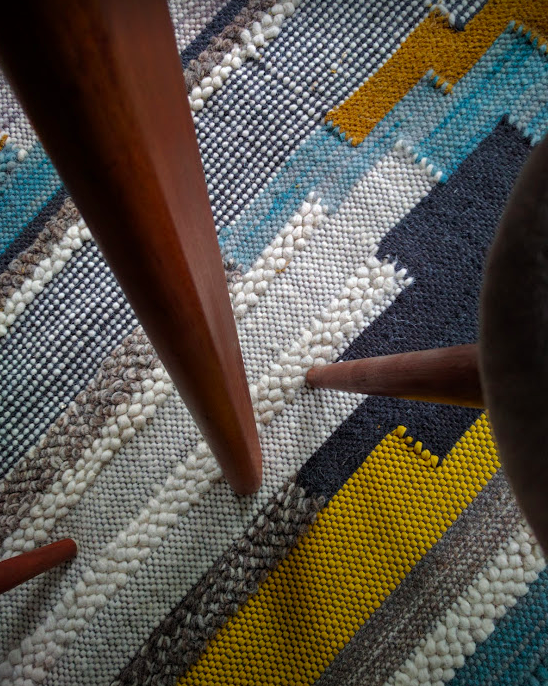
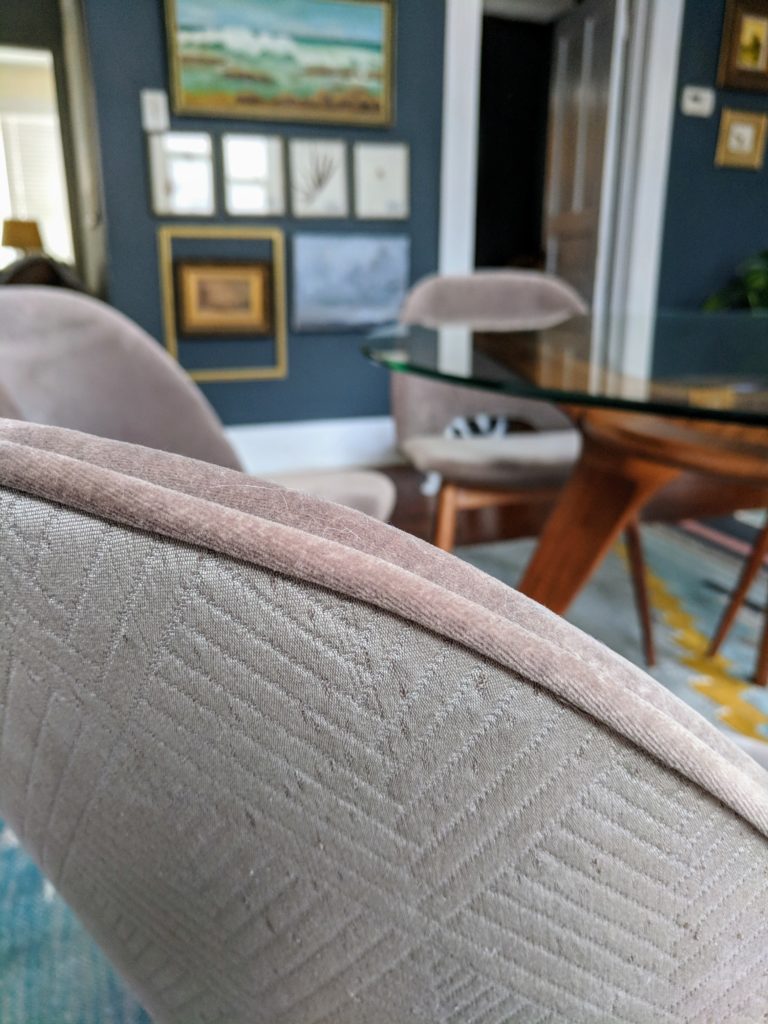
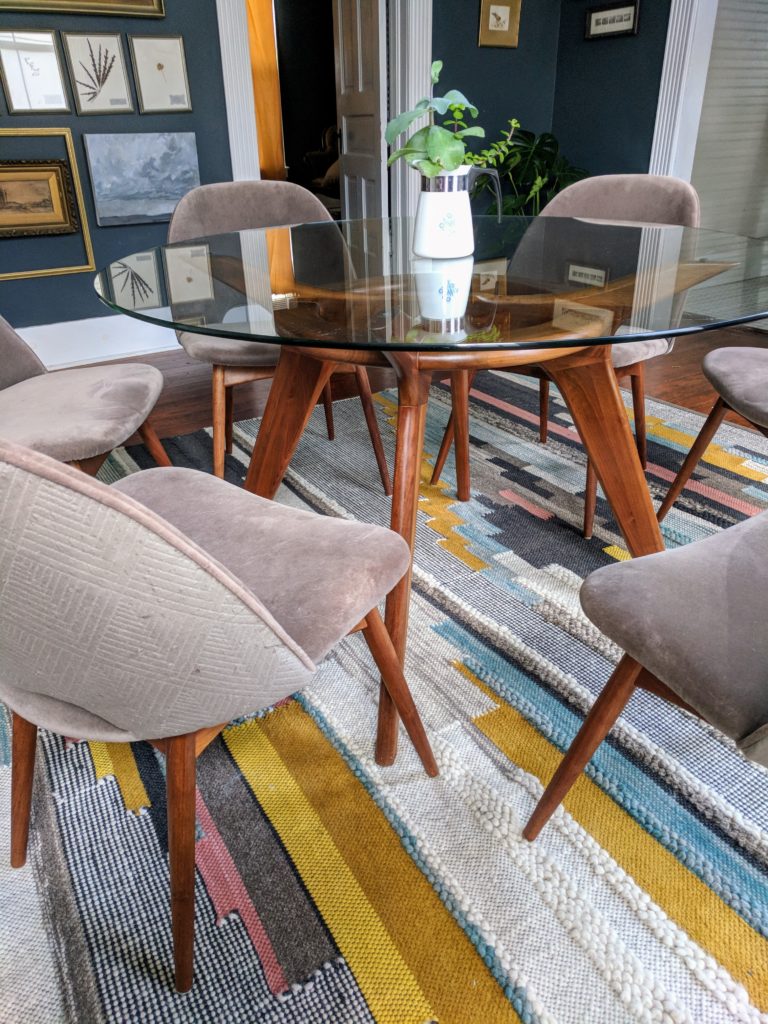
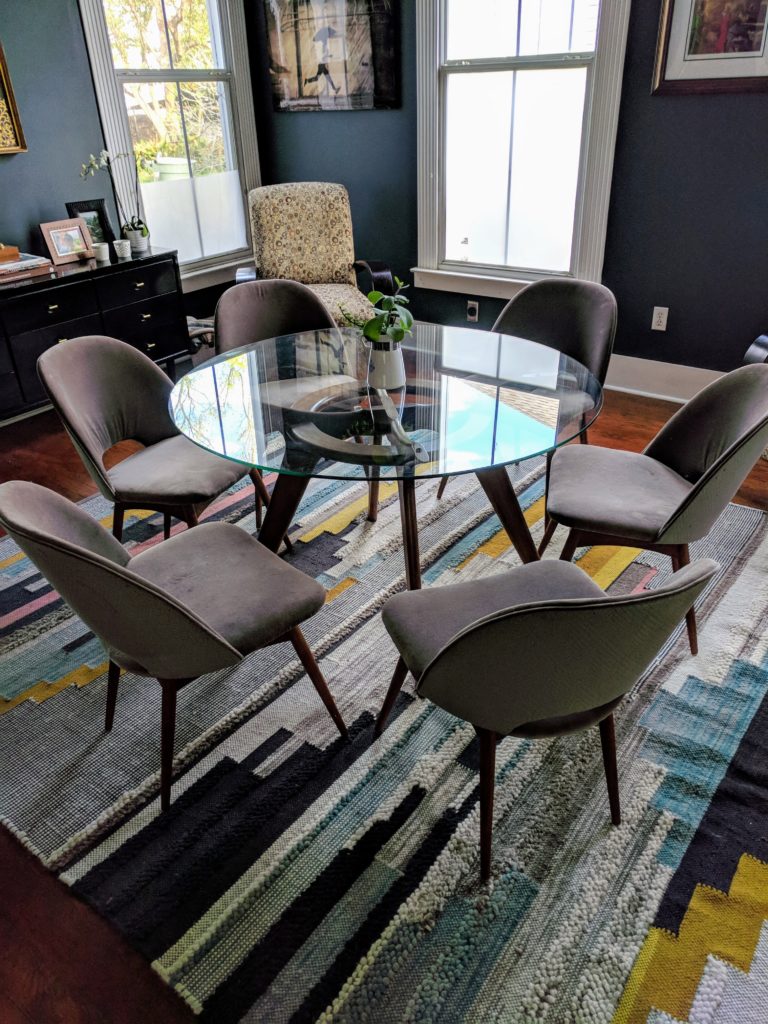
A local upholsterer was able to work with my cut fabric, and while the table and chairs have been finished for two years now, I am still in love. The set is sizeable enough to command attention in the space, and we eat, entertain, and play games around it. My mother in law bought us this gorgeous West Elm Multi Pixel Woven Rug for Christmas last year, and it’s perfect under the table.
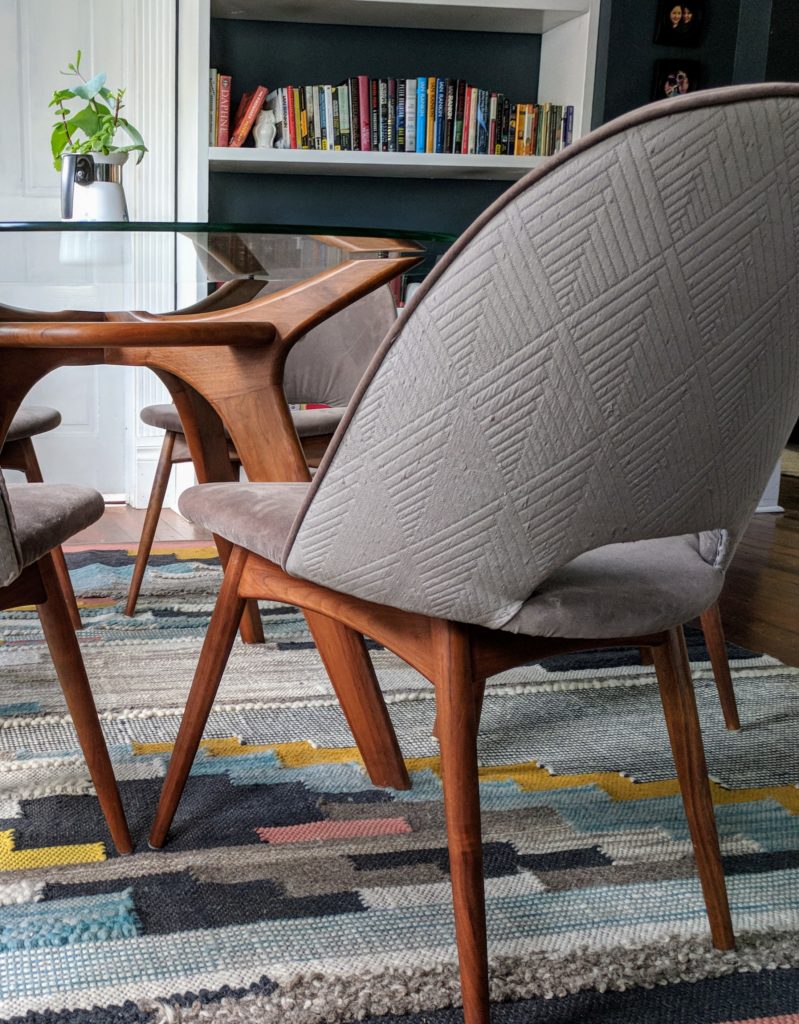
 Lesson learned: If you find yourself rearranging the furniture again and again, maybe it’s because you don’t have the right furniture. Oh, and maybe warn your husband when you buy something that looks “kind of rough.”


 Requested for review from the publisher on Netgalley.
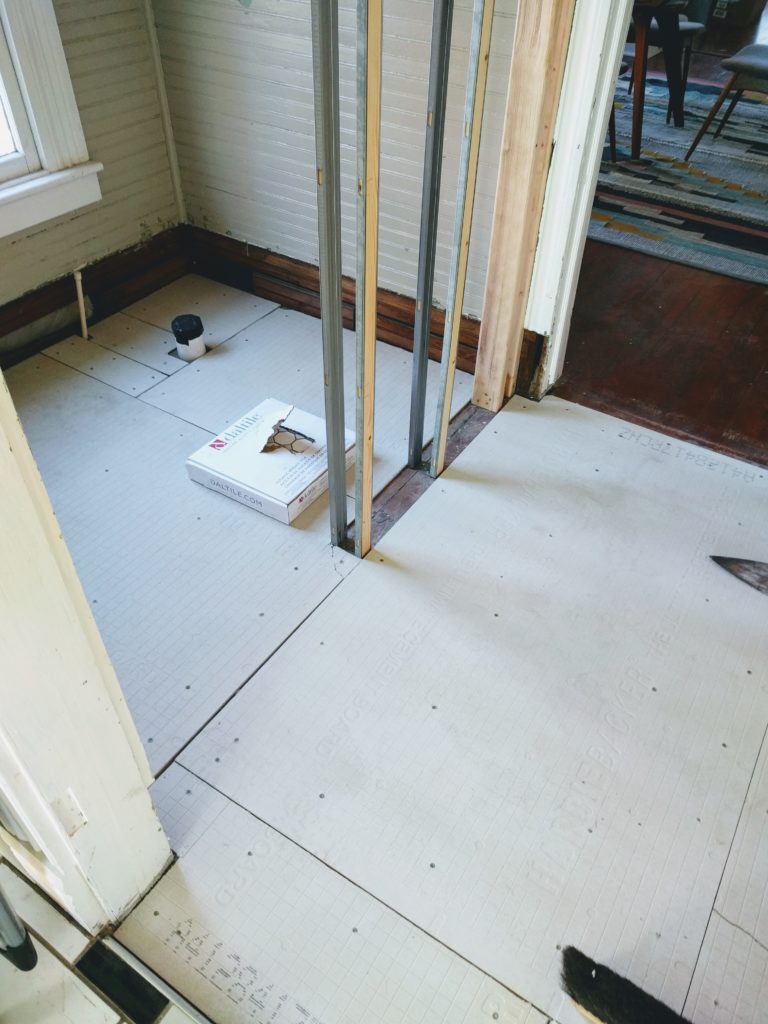
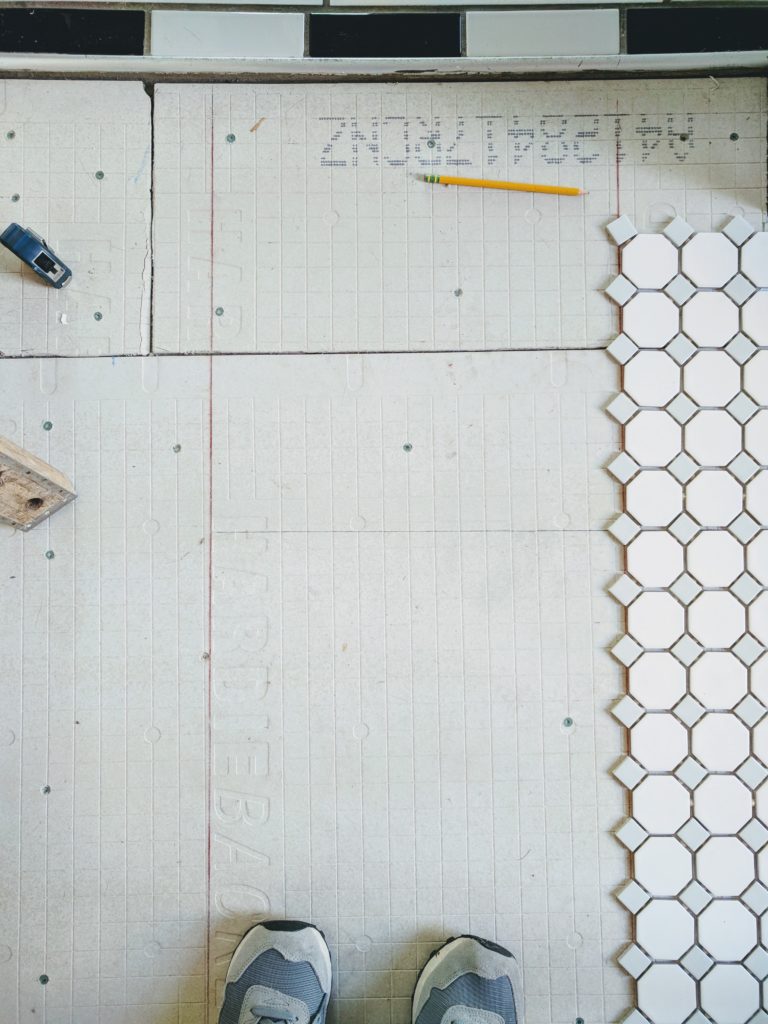
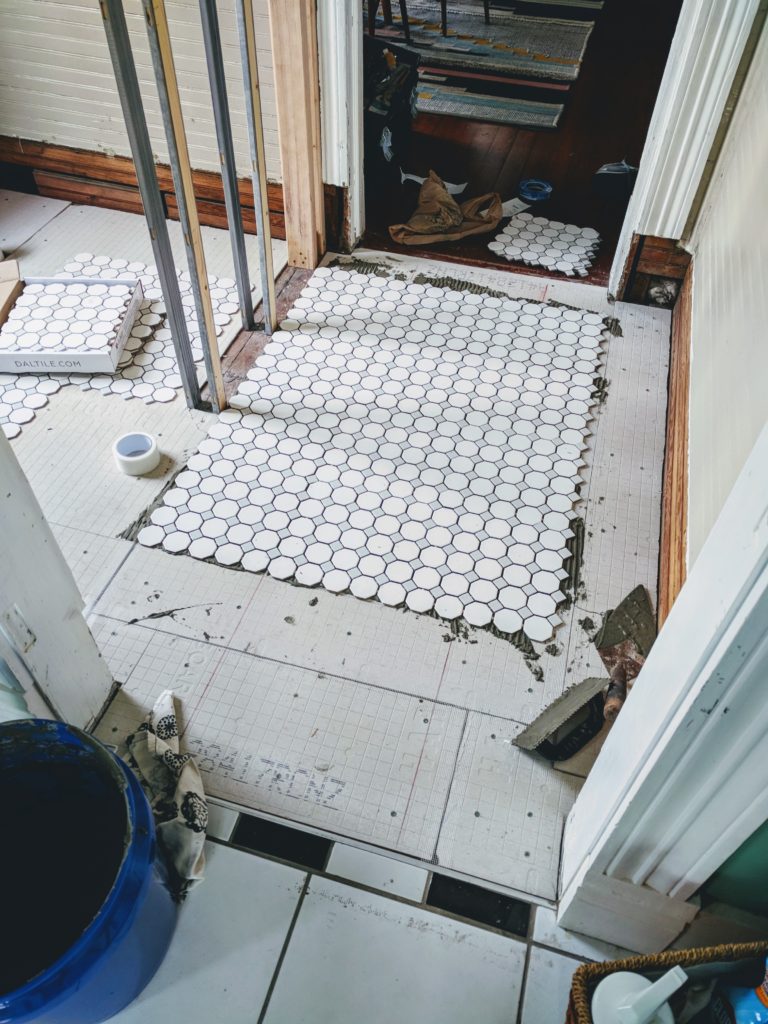

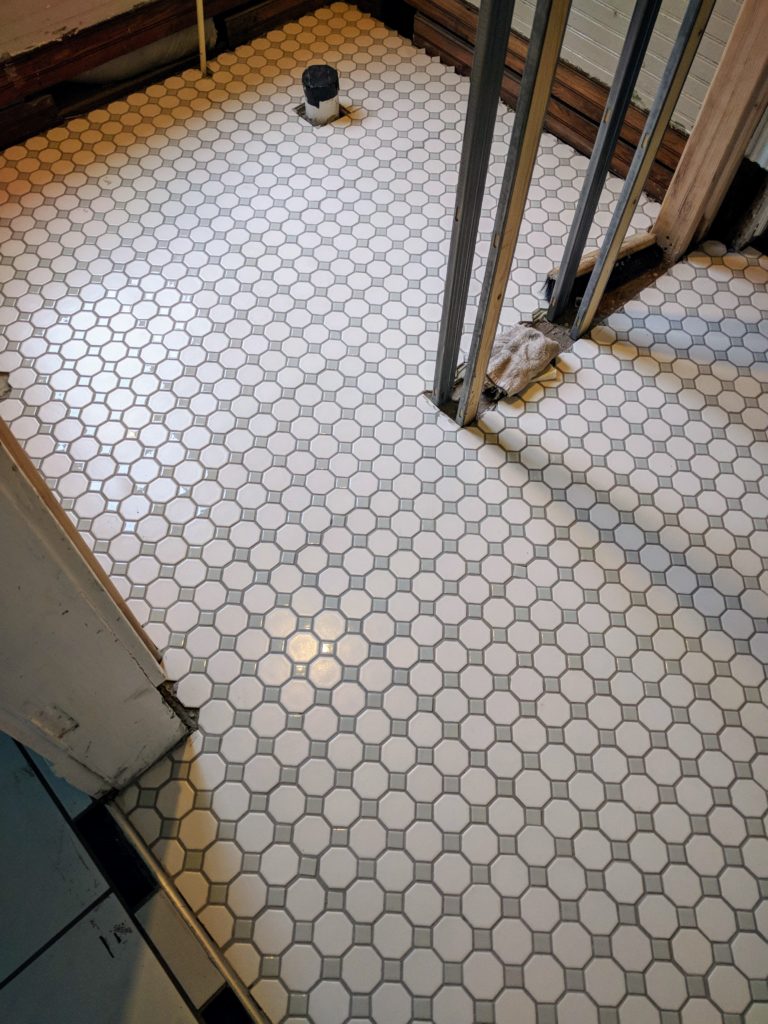 While it isn’t perfect, it’s so much better than the tile job before, and I love that even with the same tile, we went with a light gray diamond in between the white hexies. The gray is subtle but adds interest – and most importantly, made it feel like I wasn’t just having to correct someone else’s bad job.